Mobile Graphic Design Office?
Converting an old caravan to a mobile design office?
Caravans are generally pretty expensive, and I did not want to pull apart a good caravan for this project, this is when the older it is, the better!
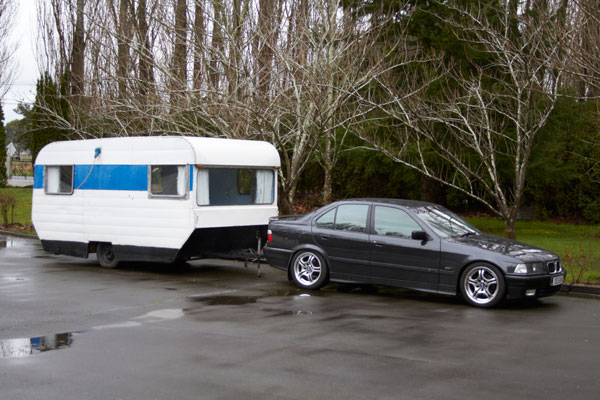
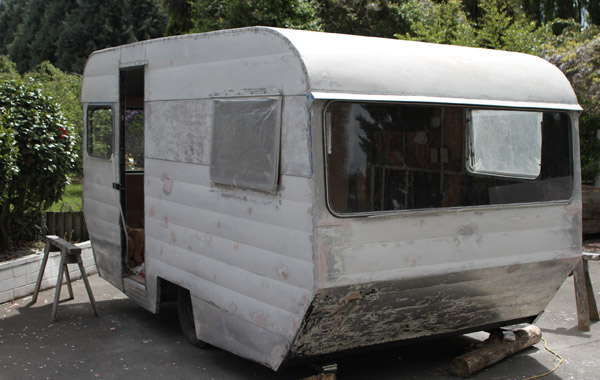
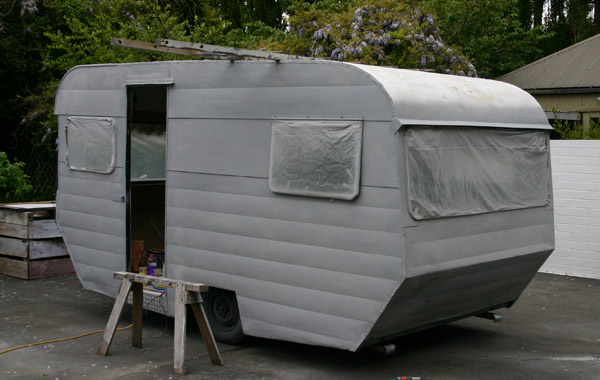
Dreaming of owning a caravan for quite some time now, after a bit of looking around this is what I’ve found! A 40 year old empty caravan used as a sleepout by the previous owner in Rangiora. It has no rego or WOF, and I managed to tow it back safely!
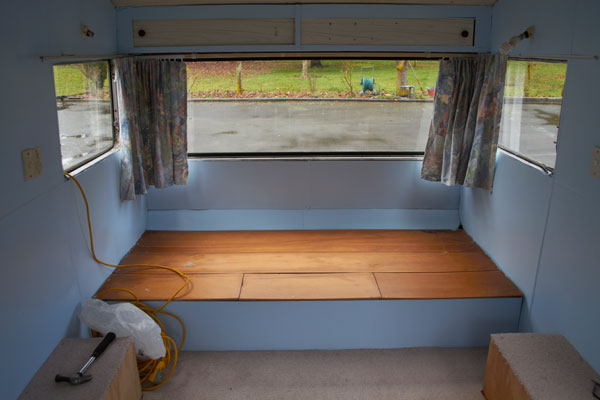
This is the interior of the caravan, it appears clean and dry, but I suspect it has rotten timber underneath as I could smell damp and rot… looks like it’s gonna get ugly before it gets beautiful!
Getting Ugly
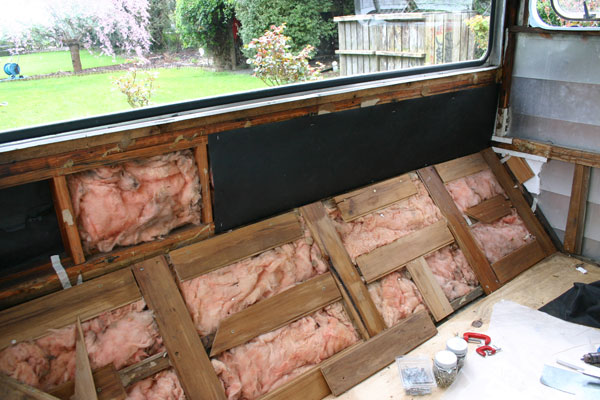
The fun part is to rip apart the old lining. This is the front end, good to see it was lined with batts, but sad to see years of condensation has caused the timber to rot, especially at around the corners. It will require major repair work! I used a product called ‘timber preservative’ I bought from Mitre 10, to help preserve existing timber from further rotting. As you can see below, it really looks ugly now, and yes I have created a big mess!

Design Brief / Objectives
- To secure an old caravan, and converting it to a mobile office
- To measure and draft a plan for this conversion
- To purchase materials and tools required
- To design a solar power 12v system for lighting, and to charge a laptop
- To spend time in the weekends for this restoration project
- To do it all within $2000 NZD
- To be used as a potential business tool to offer mobile graphic design or tutoring services?
Caravan Damp Proof
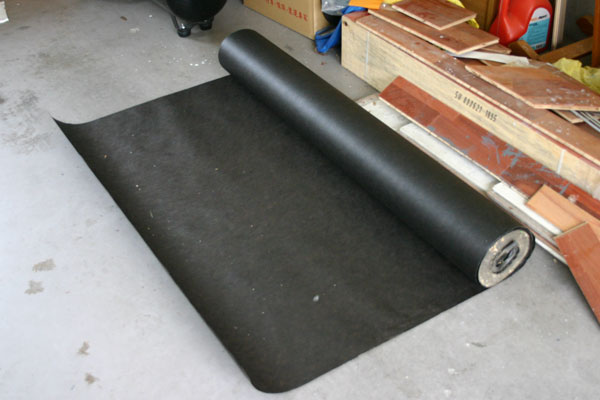
Condensation is one of the worst problems in a caravan, especially in cold countries like New Zealand. To help reduce condensation, I purchased a roll of left over building paper from a guy at trademe, when I checked up on his address to realize that the location (Brookland) is of of the worst hit Christchurch earthquake effected areas! Entry to this suburb was controlled by the New Zealand army to ensure safety for everyone, and the drive into this suburb was really bumpy with a few access blocked due to damage! I wanted to take some photos of the damaged roads, but did not want to do this to avoid public anger, or be called rubber neckers… Sewerage systems were popped off the ground to some 50cm high, and there was no water or septic system, there were portaloos in every corner. We have been very lucky, as we have not been effected much by the 7.1 magnitude earthquake happened at 3.45am 4th September 2011, and have only started to see the force and damage this quake has caused!
I painstakingly lined the timber framing with building paper, and replaced rotten timber with treated ones.
To ensure the caravan is completely damp proof, I double lined the framing with building paper, before re-lining it up with 3.6mm hardwood ply.
The front end of the caravan lined with 3.6mm hardwood plywood sheets. I love the smell and the natural grain of the timber! I think I will not paint over it, instead I will oil it to allow it to breathe. I think it is starting to look good!
Doing a bit of tidying up around the window with ply off-cuts.
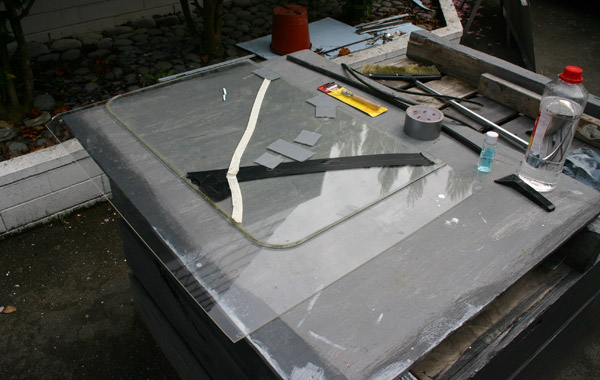
The caravan came with a cracked window, I happen to have a perspex frame at the same thickness 3mm, and ideal to use as the replacement. I heard that perspex are better insulated than glass!
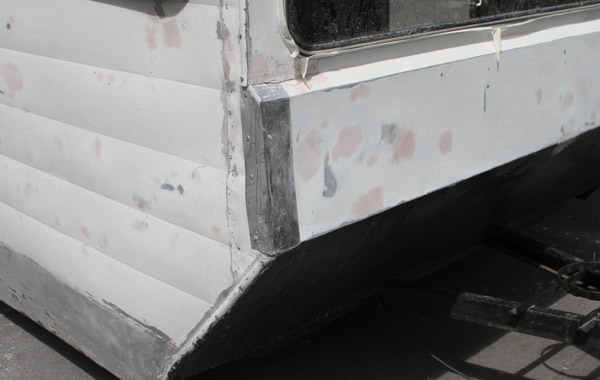
Body filling dins and dents, and lots of sanding! Aluminium dins easily, but the great thing about it is that there is no need to worry about rusting, and I am able to work outside before the first coat of primer is applied.
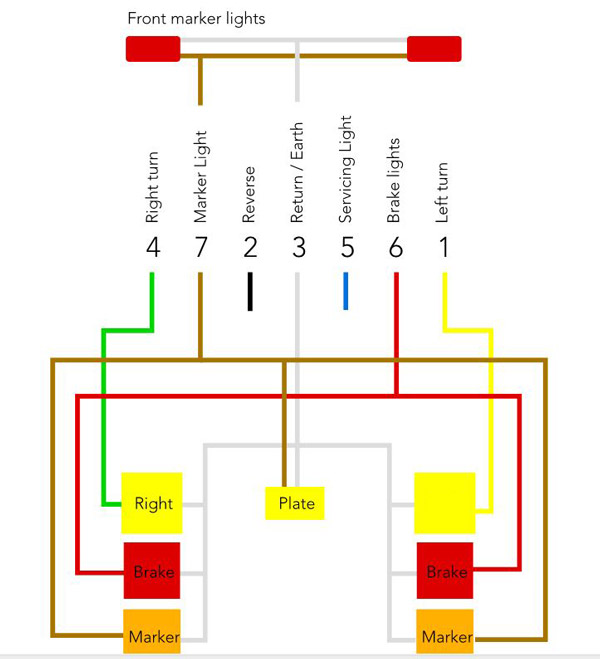
Ripped out the old caravan light wiring, and purchased a new 11 metre 7 core cable from trademe for $46. Much cheaper after comparing with the shop at $160 for 11m! I was trying to save the old wiring, but it was just a mess, with no color coding and it was everywhere. Glad to have pulled new wires for the rear lights.
Felt like a difficult task trying to re-wire the lights for the caravan, but it isn’t as hard as it looks after a wee bit of research. Just connect the right color code to the right light, and earth (white/grey cable) them up together. Below is the diagram I have drawn for your reference. The most time consuming part is to try to solder them together, and to heat shrink the connection so they will not oxidise too quickly.
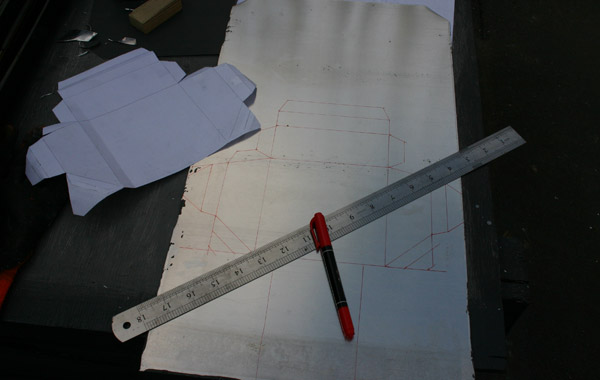
Designing and making rain hoods for the rear lights, although the lights are splash proof, I want them to last longer. First step was to draw a plan, and then make a dummy out of paper to see how it fits.
A more careful plan drawn from Freehand, my favorite software for drawing using the Mac. Being a graphic designer has a lot of advantages, especially when you need to draw and plan out your designs on a computer! Below I have taped the 2 dummies to see how they will look.
Transfering design onto a piece of aluminium. The easiest way was to place the paper plan on top of the aluminim, then draw connecting dots using a fine marker pen. The dots are connected together to form the final shape to be cut out.
Completed rain hood for the rear lights! Looking nice. They should look good once painted.
Hey, if you want a flat plan of the rain hood, give me a yell, I will email you a PDF sample to try out!
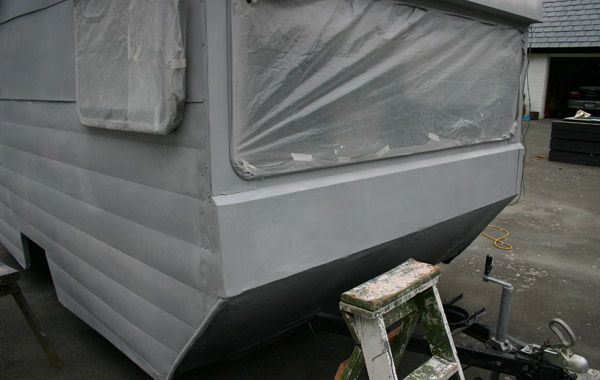
Putting on the primer coat. I used a product called etch primer, this product is designed for bare metal, and works by etching into the metal for superior adhesion. It is starting to look good! Preparing the surface for paint took a lot of man hour, and patience…
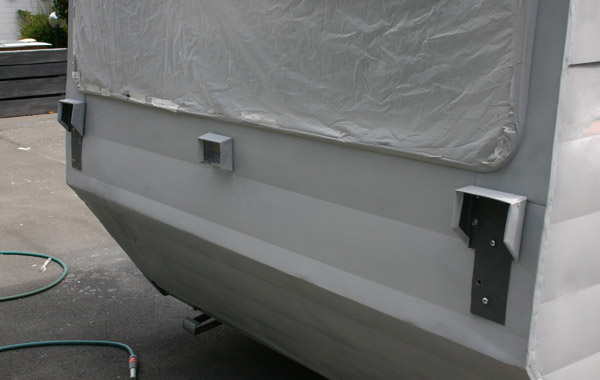
Rear light brackets installed, before spraying on the first coat of the top coat. The color chosen is ‘Aluminium’, just to differentiate from the norm.
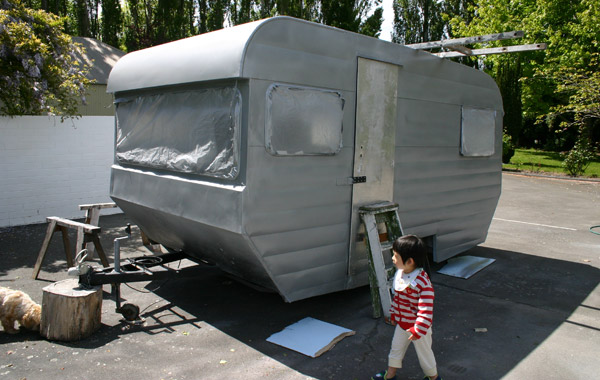
First coat of the top coat is sprayed. Jaedon inspecting for flaws. I have been wanting to use car Lacquer paint for the top coat, but end up using epoxy enamel, as this is easier to work with and thin/clean for spraying, it is also cheaper and should work just as well.
That’s all for now, I will keep working on it, and report in whenever I can. I have been busy building websites and graphic designing, but I have not forgotten about my readers and my blog… I look forward to getting my caravan restored! Watch this space for more later…












3 Comments
Join the discussion and tell us your opinion.
heh awesome!
Can’t wait to see the finished product – i’m inspired.
Thanks for your comment Heather, yes I will make another post of my latest progress! It’s summer time now and will work on this baby when there is time! She is 85% completed at the moment.